Another item that is good to know in case you ever get a flat tire. I found this picture online at an insurance place years ago. This is something I didn't know how to do but, lucky me my hubby showed me how to do this just recently. I have this printed and laminated also in my glove compartment along with my How to Jump a Car cheat sheet as well. CLICK HERE FOR THE HOW TO JUMP A CAR SHEET
Pages
WELCOME
Hello! Welcome to my blog, my name is Tawnya. I'm a Mommy to 3 little ones, a lucky wife to the Man of my dreams. I am a Cosmetologist, Crafter, Photographer and a stay at home Mom. My blog is simply about everything I love from, decorating, DIY, recipes, beauty, hair, camping, kids you name it. I love life and hope my blog can uplift and inspire many. Thanks for stopping by and come back often so you wont miss a thing!
Showing posts with label Emergency Preparedness. Show all posts
January 13, 2016
January 4, 2016
How to Jump A Car
This is something everyone should know how to do. Print this off and keep a copy of it in your glove compartment. I have one in mine. I laminated mine for longer durability. Hopefully you wont ever need to do this but just in case you can be prepared. Enjoy!
January 14, 2014
Food Storage Baby Step #5
Start With A Three-Month Supply:
Three-month supply items are foods that you normally eat including canned and commercially packaged foods.
* Purchase a few extra items each week to build your three-month supply
* Make a list of the food items your family eats most often. ( i.e.- macaroni & cheese, chili, tuna (mayo), peanut butter & jelly, pasta & spaghetti sauce, rice etc.) Start building your food storage around those items on your list. One thing to remember is to buy ALL the components of each meal you eat on a regular basis. For example Oatmeal for breakfast wouldn't be good without brown sugar, raisins, cinnamon & milk (powdered milk) Keep in mind that in a disaster you won't be able to run to the store to buy the "extras" for meals. You will need all items on hand to put together meals for your family. Every family eats differently so there is not one list for everyone, that is why it is important to make a list of what your family eats.
* Again STOCK UP when things are on Sale.
* Don't allow yourself to be daunted by the notion that there is "magic" in the famous "one year supply" Begin with an inventory of what you already have, then set some practical, reasonable and achievable goals for adding the things in form and quantities which make sense for you. There is not a one-size-fits-all game plan.
January 8, 2014
Food Storage Baby step #4
Baby Step #4 is....Storing Drinking Water!!!
If you've ever been thirsty, you'll realize that water storage is an essential part of an emergency preparedness program. While you can go without food for an extended period of time, you can only go without water for a VERY short period of time. To me this is one of the MOST important thing to store. You need to obtain at LEAST a two week supply of water for each member of your family. A two week supply of DRINKING water per person is 14 gallons. This does NOT include washing, cleaning, or cooking water. Have water in all sorts of containers. Having a water filter is also a good idea for filtering water that may be questionable to drink.
* Purchase a few cases of water bottles every week to add to your home storage water supply.
* Rotate your water supply regularly.
* Keep water containers away from heat and direct sunlight.
* NEVER store water containers directly on cement. Always have them on some wood, I use pallets. You don't want any of the particles from the concrete to get into your water.
I have a fun and easy way I like to store cooking and cleaning water CLICK HERE
Don't forget to come back next week for more tips :)
January 2, 2014
Food Storage Baby step #3
I am sorry I am behind on my weekly food storage posts. We have had sickness after sickness at my house for the past month. Here is step #3 ENJOY
Determine how to pay for food storage
* You should NOT get the money to pay for your food storage by running up debt. Even those on a tight budget can get started with food storage.
* Starting a food storage program will save money. It is like starting a savings account.
* Despite what many believe, you don't have to spend large amounts of money on specially packaged foods for food storage.
* You can save a lot of money if you're willing to spend a little more time and effort. (again coupons help out a TON)
* Spending as little as twenty dollars a week can make a solid beginning in outing food away.
* Make sure you think and shop in "Complete Meals" example, if you want to have stuff for Tuna sandwiches you don't just buy the Tuna. Make sure you get the pickles, Mayo, Mustard and Lemon Pepper seasoning. You will save money by shopping for complete meals rather than just random things here and there.
* If your family goes out to eat once a week try cutting that back to just once a month and use that money you would have spent on food storage or water.
* Stock up when items are on sale!! It may seem like you are spending a lot of money at once, but you will actually save you money in the long run.
Come back next week for another step on how to get your food storage started.
Determine how to pay for food storage
* You should NOT get the money to pay for your food storage by running up debt. Even those on a tight budget can get started with food storage.
* Starting a food storage program will save money. It is like starting a savings account.
* Despite what many believe, you don't have to spend large amounts of money on specially packaged foods for food storage.
* You can save a lot of money if you're willing to spend a little more time and effort. (again coupons help out a TON)
* Spending as little as twenty dollars a week can make a solid beginning in outing food away.
* Make sure you think and shop in "Complete Meals" example, if you want to have stuff for Tuna sandwiches you don't just buy the Tuna. Make sure you get the pickles, Mayo, Mustard and Lemon Pepper seasoning. You will save money by shopping for complete meals rather than just random things here and there.
* If your family goes out to eat once a week try cutting that back to just once a month and use that money you would have spent on food storage or water.
* Stock up when items are on sale!! It may seem like you are spending a lot of money at once, but you will actually save you money in the long run.
Come back next week for another step on how to get your food storage started.
November 25, 2013
Food Storage Baby Step #2
BABY STEP #2 STORAGE SPACE AND SHELVING:
One of the biggest concerns when getting started with food storage is "WHERE DO I STORE ALL OF THIS FOOD?" This step is to decide on a place for your food storage. This is important because the reality is that most people won't even start a project the size of food storage, until they have created a dedicated space for it.
Clean out an area for your food storage, create a space that makes you get EXCITED. There are a wide variety of shelving options available. Frist, determine the amount of money you feel comfortable spending and consider what will suit your specific needs. Some shelving options are:
* Build Your Own- This is the most inexpensive option and offers the most flexibility, but can be time-intensive.
* Purchase inexpensive metal or plastic shelving- (i.e. from Walmart, Sams-Club etc..) This is a cheap and easy way to get started, shelves may not be as durable as wood or metal shelving. You will have to limit the weight more with these.
* Purchase higher quality metal shelves- Heavy duty hardware store shelves are more durable and there should be no problem with bowing or collapsing with heavy weights. Great for all the canned items.
* Invest in a deluxe can rotation system- This is the most expensive option, but is very convenient for easily rotating your canned goods.
Don't forget to come back next week for Baby step #3. :)
November 19, 2013
Getting Started With Food Storage!
We can begin ever so modestly. We can begin with a one week's food supply and gradually build it to a month, and then to three months, to a year. Don't get overwhelmed, begin in a small way and gradually build toward a reasonable objective that works best for you!!
MAIN REASONS FOR STORING FOOD:
** Having a supply of essential foods and supplies will sustain life in emergencies and natural disasters.
** Having what we need and knowing what to do in the event of an emergency or an unforeseen life situation can bring us peace of mind.
** Teaches us basic food preparation in case of an emergency.
I am going to be having a series on here once a week I will give you a new Baby Step on how to achieve your Food Storage Goals. In the end of the series I will have a FREE download with all the steps for my followers. So if you are not a follower, no need to worry just start following my blog so you wont miss out on a thing! :)
GETTING STARTED WITH FOOD STORAGE WITH BABY STEPS:
Baby Step #1 Create a Food Storage Plan
Create a plan. In doing so you can ask yourself the following questions, and as you do so, you will see a plan before buying anything you and your family members need for your food storage to begin to form.
* Why am I building a supply of food?
* What kind of foods do I want to include?
* How will I plan what to buy for my supply?
* How much money can I afford? (couponing will help big time here)
* How will I shop for my food supply?
So make your list for these questions and come back next week for the next baby step for ideas on storage space and shelving.
November 18, 2012
Water Storage

With everything that has been going on back east and around the world lately I thought I would share one of my tips on storing water for an emergency. Perhaps the only thing more important than food in a long-term emergency is water. FEMA recommends that you store at least one gallon of water, per person, per day
Even the food you do have probably needs water to be cooked. Where we live we only drink bottled water so once we are done with our 24 packs of water we save the cardboard that is in the bottom of the pack and I fill the empty bottles with tap water and I put a C on the cap (standing for cooking or cleaning) then this way I know what water to use for things as simple as washing our hands, boiling water for meals etc... the nice thing is with these they are easily stack able with the cardboard as a divider and two, they are in a smaller portion size for smaller uses where you don't have to open your long water storage for a small project. I am sure there are TONS of ways out there for storing water but this is something that works the best for my family. If you are already drinking bottled water you have an easy storage idea right here, give it a try here is some pictures on mine to give you an idea . Enjoy :-)
August 23, 2012
Freezer Jam!?
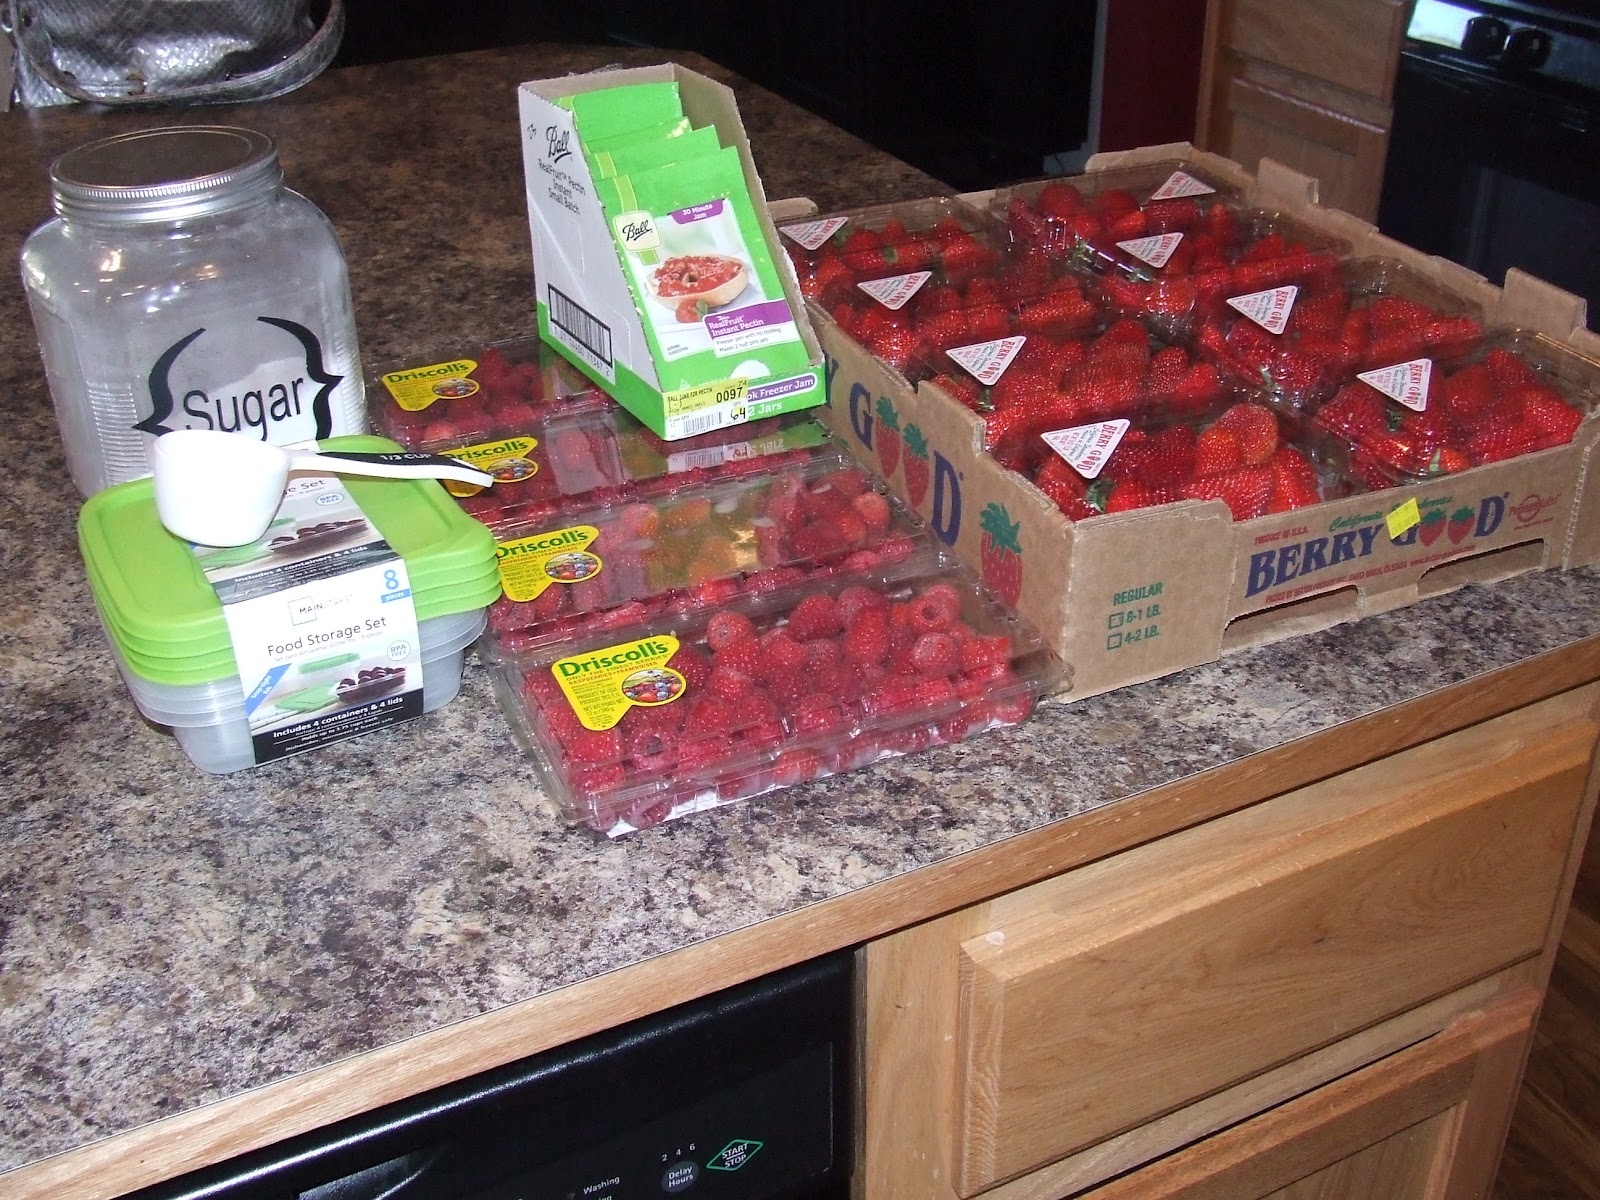
I am all about simple. Some of you might think this is a not so fun thing to blog about but, let me tell you, I am SOOO excited I tried this. I can not tell you how EASY freezer jam really is! Why have I not been making this for YEARS??? I have always heard people talking about making jam and slaving in the kitchen all day long. My thoughts were, not for me. So I never thought I would make jam until...I found out they make instant pectin!! I am telling you this is the most DELICIOUS jam you will ever taste and it literally takes no time at all to whip some up. Today I made 28 batches of some raspberry and strawberry jam. Here is what I did:
pour the sugar and pectin in a separate bowl
- Buy some packs of instant pectin (you need one per batch)
- Get the fruit you want (I think raspberry and strawberry work the best) you need 2/3 cups of mashed or mixed fruit for each batch
- Sugar (it says to use 2/3 cups but I used 1/2 cup or you could even use 1/3 cup)
- Potato hand masher or blender ( I used a whisk for the raspberries and my Ninja Pro blender for strawberries)
- Shallow square stack able freezer safe containers
Mash your fruit to the consistency you want
pour the sugar and pectin in a separate bowl
dump in 2/3 cups of your mashed fruit stir it all in
dump it into your container (the ones I used let 2 batches fit into each one, you don't want them filled to the very top though)
Let it sit for 30 mins
THAT IS IT!! I told you it would be a simple. Then just put the ones you wont be using right away after they sit up for 30 mins into the freezer they will stay good for a little over a year. You can't beat that! You will want to have a piece of toast in the morning with it, a PB&J sandwhich with your kids for lunch...ok I will stop. Ya, I am excited =)
May 29, 2012
Emergency SOY Candles
Soy candles that will last 40 hours, great for an emergency. Soy is all natural and not harmful. I saw this on a website and thought I would try them out myself too. They are super easy to make. If you think about it, when you don't have any light in an emergency. You really only need about 4-5 hours a night for candle use. Here is what I did.
You will need 5 lbs of Soy candle wax, I got mine at Hobby Lobby, mason jars, candle wicks (I got mine on amazon)
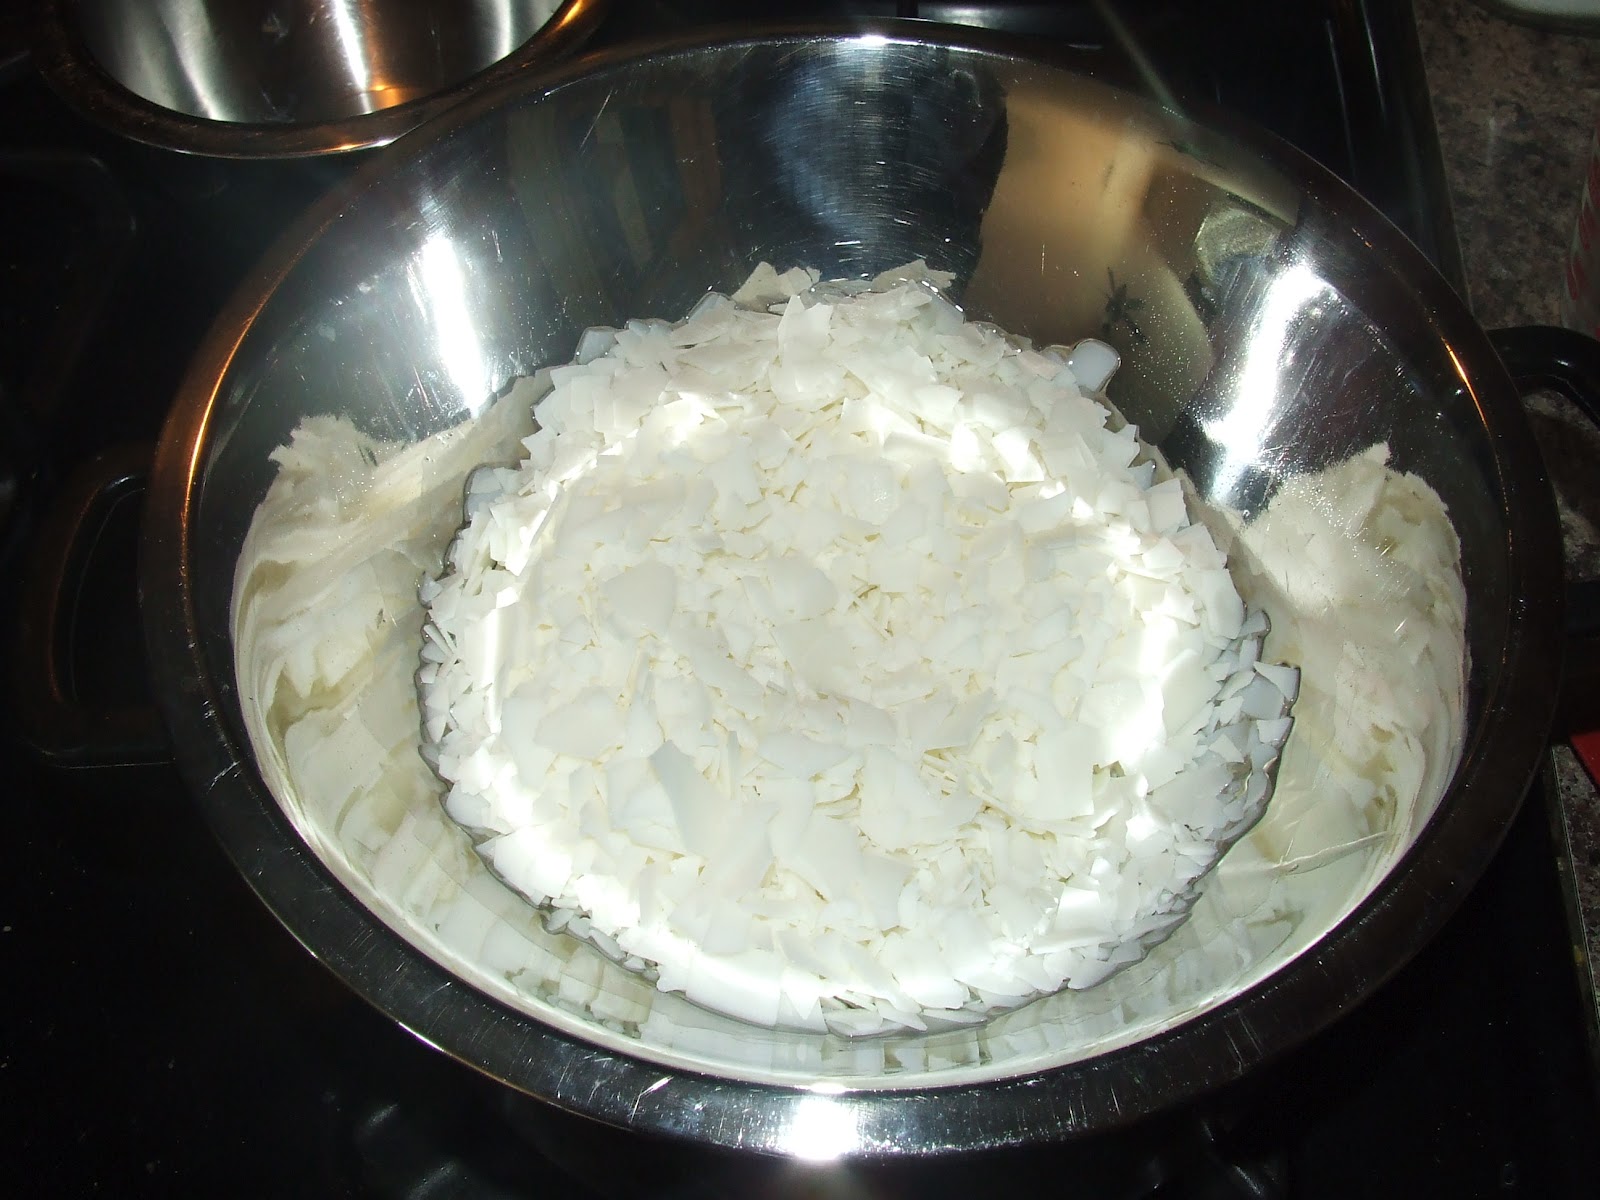
Put the wax in a double broiler until melted
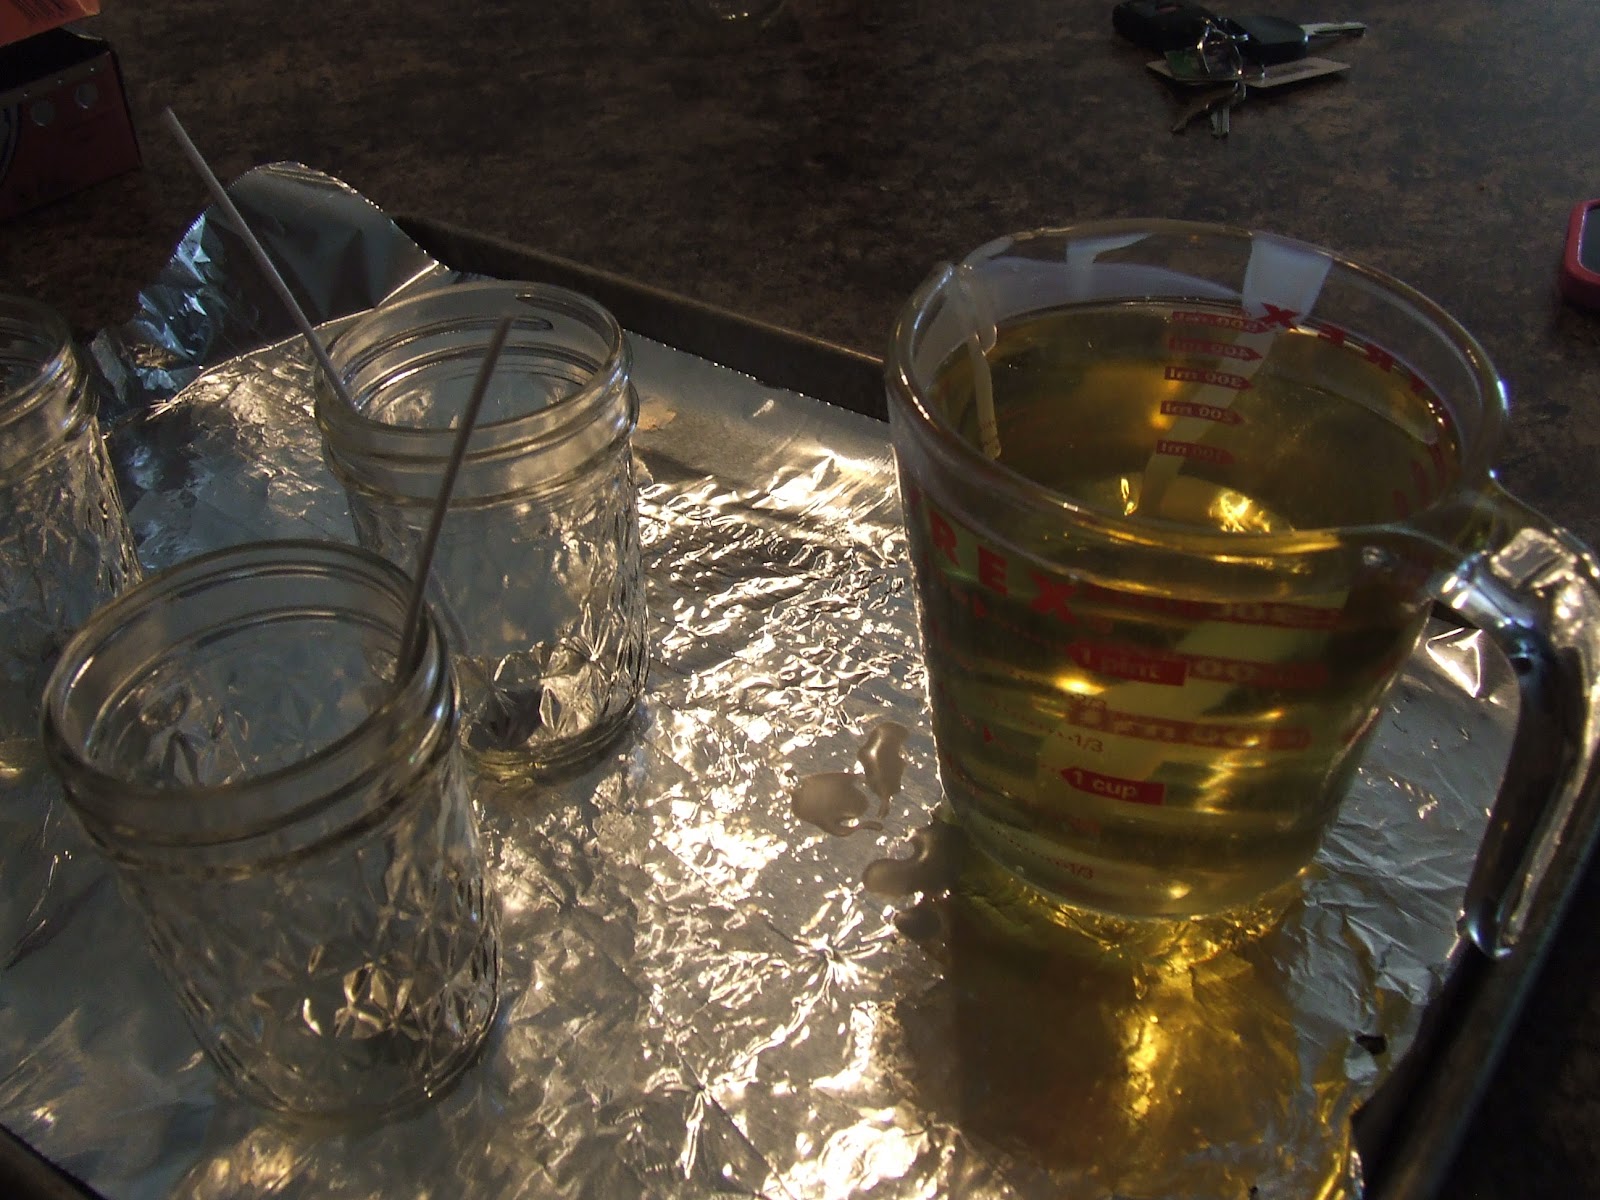
I put foil on a cookie sheet so it would catch the drips while I poured
What the wax looks after it is melted
Just dump it in all your jars and leave a little room at the top. You can see in this picture how it starts setting up.(I only wish I had a candle wick center, holder. it would have made it easier but, it worked fine without one too.)
I cut the wicks after they were all set up
The finish product. These are so easy to make. I feel good that I now have 400 hours of light if we need it!!
March 14, 2012
Being Prepared
Since I am a coupon shopper. I have been working on getting our food storage and 72 hour kits all up to date. My goal for the next couple of months is, to have a 1 year supply of water and food. Here are some great links that I LOVE for this kind of stuff. There are a lot of FREE printables as well. Enjoy!
Monthly Helps
http://freebies2deals.com/2011/08/72-hour-emergency-go-bags.html
http://www.sixsistersstuff.com/2011/08/emergency-survival-72-hour-kits.html
http://dealstomeals.blogspot.com/search/label/Emergency%20Preparedness (this is one of my Fav. so much info)
Subscribe to:
Posts (Atom)
************DON'T FORGET TO CLICK ON OLDER POSTS FOR MORE*************